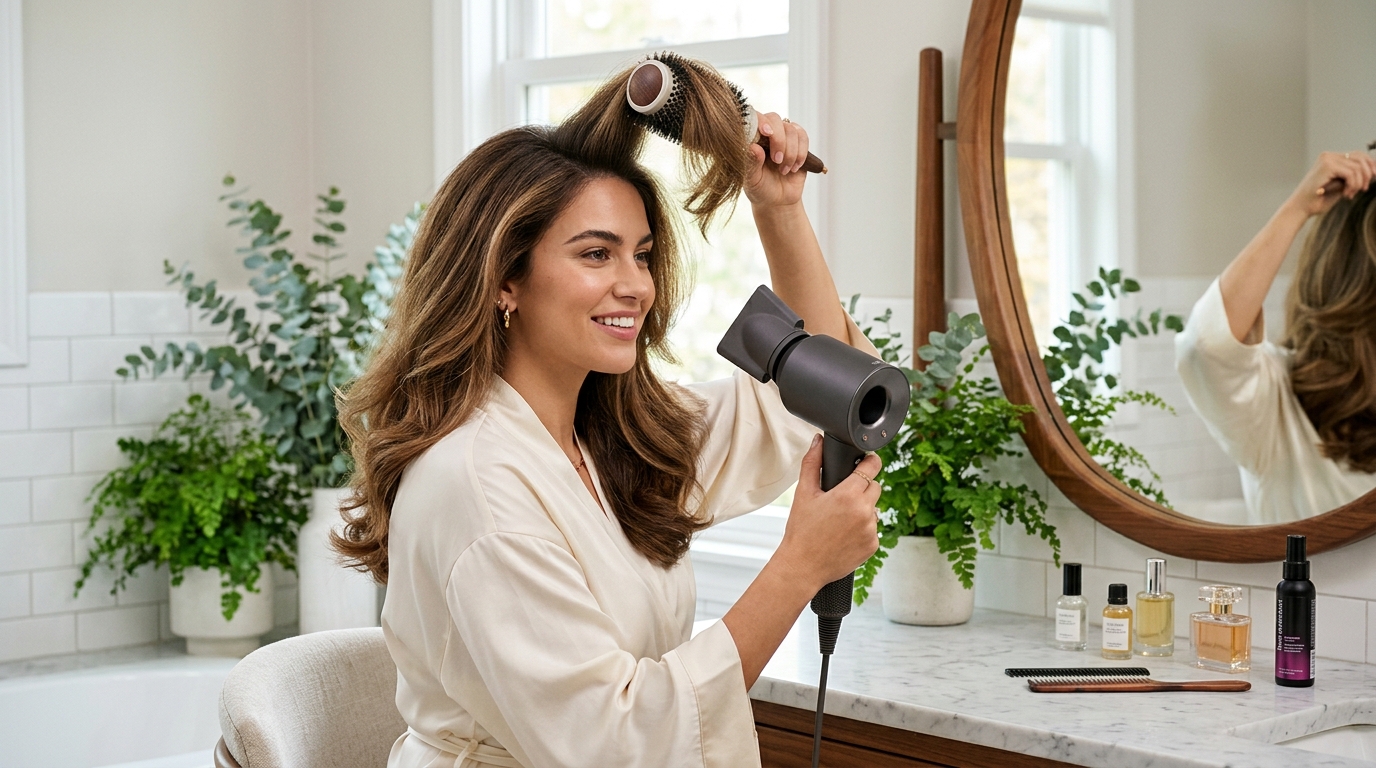
How to Master the At-Home Blowout: 5 Steps to Bouncy Hair
Ever walked out of a professional salon feeling like you’re starring in your very own shampoo commercial? Your hair has that effortless, gravity-defying bounce, and you can’t stop catching your reflection in every passing shop window. But let’s be honest: paying for weekly professional blowouts is a luxury that most of our wallets aren't quite ready to support. What if you could recreate that exact, head-turning volume right in your own bathroom? It sounds intimidating, but mastering the at-home blowout is entirely within your reach. With a few insider secrets, the right tools, and a little bit of muscle memory, you’ll be rocking bouncy, salon-worthy locks without the salon price tag. Let's dive into how you can become your own favorite stylist!
The Allure of the Salon-Quality Blowout at Home
There is something incredibly empowering about a great hair day. It’s like an invisible crown that boosts your confidence, polishes your outfit, and somehow makes your morning coffee taste just a little bit better. For years, the bouncy blowout was a secret guarded closely by salon professionals. We watched them flip, twist, and pull our hair with mysterious ease, assuming it required a licensed cosmetologist's touch to achieve.
Fortunately, the beauty landscape has democratized. With high-performance tools and smart styling techniques readily available, achieving that coveted, voluminous bounce at home has never been easier. It is not about having perfect, professional-grade coordination from day one; it is about understanding the science of your hair, mastering the mechanics of airflow, and practicing a few simple steps.
Phase 1: Prepping Your Canvas (The Prep Work)
Before you even plug in your blow dryer, you need to prepare your hair. Think of your blowout like a masterpiece painting: you cannot get a flawless, long-lasting finish if the canvas underneath is uneven, dirty, or improperly prepared. The foundation of a gorgeous blowout actually starts right in your shower.
Choosing the Right Shampoo and Conditioner
If you want hair that bounces with every step you take, you must avoid heavy, moisture-laden products that weigh your strands down. Look for volumizing or clarifying shampoos that gently strip away excess oils and product buildup without leaving your scalp dry.
When it comes to conditioner, moderation is your best friend. Apply it strictly from the mid-shaft down to your ends. Avoid your roots like the plague! Applying conditioner to your scalp is a one-way ticket to flat, greasy hair before the day is even over. Rinse thoroughly with cool water to seal the hair cuticles and add a natural, reflective shine.
The Art of Towel Drying (Ditch the Friction)
When your hair is wet, it is in its most vulnerable, fragile state. The outer cuticle swells, making it incredibly prone to breakage, frizz, and structural damage. The worst thing you can do is grab a rough terry cloth towel and vigorously scrub your head.
Instead, adopt a gentle "squeeze and press" method. Carefully press the moisture out of your hair in sections. This preserves the integrity of your hair shaft and prevents frizz from forming before you even start styling.
Microfiber vs. Cotton: The Ultimate Showdown
If you are still using a standard cotton bath towel for your hair, it is time for an upgrade. Standard cotton towels have large, looped fibers that snag on your hair cuticles, roughing them up and inviting frizz to the party.
Microfiber towels, or even a clean, soft cotton t-shirt, are game-changers. They absorb twice as much moisture in half the time, all while keeping the hair cuticle perfectly flat. It’s a small, inexpensive switch that yields massive dividends for your hair's overall health and shine.
Phase 2: The Arsenal (Essential Tools and Products)
You wouldn't try to build a house without a hammer, so don't try to build a towering blowout without the proper tools. Having the right equipment makes the process faster, easier, and significantly less frustrating.
Selecting Your Blow Dryer and Nozzle
Your blow dryer is the engine of this entire operation. If you are using an ancient dryer that only has "hot" and "off" settings, it is time to invest in a modern ionic or ceramic dryer. Ionic dryers emit negative ions that break down water droplets faster, reducing drying time and static.
Most importantly, never throw away the concentrator nozzle that came in the box! This little plastic attachment is your secret weapon. It channels the airflow into a concentrated, direct stream, allowing you to smooth the hair cuticle and control exactly where the heat goes. Without it, your air scatters, creating wild flyaways and a frizzy mess.
The Magic of Round Brushes
The round brush is the magic wand of the beauty world. The size and material of your brush will dictate the shape of your blowout:
- Ceramic and Metal Barrels: These heat up like a curling iron, helping to lock in curls, waves, and maximum bounce quickly.
- Boar Bristle Brushes: These provide incredible tension and distribute your hair's natural oils from root to tip, resulting in unparalleled shine and smoothness.
As a general rule, use a larger barrel (two to three inches) for straight, voluminous styles, and a medium barrel (one to one-and-a-half inches) if you want defined waves and flips at the ends.
Styling Products: Your Hair's Best Friends
Think of styling products as the invisible scaffolding holding up your beautiful hair castle. Without them, your blowout will likely deflate the moment you step outside.
Heat Protectants: Non-Negotiable Armor
If there is one product you absolute must use, it is a high-quality heat protectant. High heat strips moisture from your hair, leading to split ends and dullness. A good heat protectant coats the hair shaft, acting as a shield against thermal damage while adding a silky glide to your brush.
Volumizers and Mousse: Lifting from the Roots
To get that gravity-defying lift at the crown, you need a root lifter or a lightweight volumizing mousse. Apply a golf-ball-sized amount of mousse through your damp roots, combing it through to ensure even distribution. This gives your hair the grip and structural support it needs to stay lifted all day long.
—
The 5-Step Formula to Bouncy Hair
Now that your hair is prepped and your tools are lined up, it’s time for the main event. Follow these five simple steps to transform your damp locks into a bouncy, salon-worthy masterpiece.
Step 1: The Rough Dry and Prep
One of the biggest mistakes people make is trying to blow out soaking wet hair with a round brush. This is a recipe for tired arms, heat damage, and ultimate frustration.
Instead, start by rough drying your hair. Flip your head upside down and use your fingers to gently shake out your roots while directing the warm air downward. This encourages the roots to dry pointing upward, creating instant, natural volume. Continue rough drying until your hair is about 70% to 80% dry. It should feel damp to the touch, but not wet or dripping.
Step 2: Sectioning Like a Pro
Trying to dry random clumps of hair will only lead to damp patches and tangled messes. You need to divide and conquer.
Using sectioning clips, divide your hair into four main quadrants: two in the front (divided by your natural part) and two in the back. If you have incredibly thick or coarse hair, you may want to divide these quadrants horizontally into smaller, manageable sub-sections. Work from the bottom layers near the nape of your neck up to the top layers at your crown. This keeps your wet hair separated from the sections you’ve already dried.
Step 3: Mastering the Pull-and-Roll Technique
This is where the magic happens. Take a section of hair no wider than the diameter of your round brush. Place the brush underneath the section, right at the roots.
Point your blow dryer with the concentrator nozzle downward, following the brush as you glide it slowly from root to mid-shaft. Keep the tension tight—tension is what smooths the cuticle and creates shine! Once you reach the ends of your hair, roll the brush all the way back up to your scalp, wrapping the hair around the barrel. Hold the dryer over the rolled brush for a few seconds to let the heat shape the curl.
Step 4: Setting the Bounce with Cool Shots
Do you want to know the ultimate industry secret to making your blowout last? It is the "cool shot" button on your dryer. Hair is highly malleable when it is hot, but it sets into place as it cools down.
While your hair is still wrapped tightly around the round brush at your scalp, blast it with the cool shot setting for 5 to 10 seconds. This cools the hair fibers instantly, locking in the curl and volume. Gently unravel the brush by twisting it out, rather than pulling it straight down, to preserve the bounce. For extra drama, you can pop a Velcro roller into the warm section and let it sit while you dry the rest of your head.
Step 5: The Finishing Touches and Lock-In
Once your entire head is dry, resist the urge to immediately brush through it. Let your hair cool completely for a couple of minutes.
Once cool, gently run your fingers through your locks to break up the sections and blend them together. Rub a tiny, pea-sized drop of lightweight hair oil or serum between your palms and smooth it over your ends to tame any stray flyaways and lock in a mirror-like shine. Finish with a light mist of flexible-hold hairspray to keep everything bouncy and beautiful without making your hair stiff or crunchy.
—
Pro Tips for Longevity: Making Your Blowout Last
Now that you’ve put in the effort to create a gorgeous, bouncy blowout, you’ll want to make it last as long as possible. With a little care, you can easily stretch your style into day three or four!
- Sleep on Silk: Swap your standard cotton pillowcase for a pure silk or satin one. Silk reduces friction, preventing bedhead, tangles, and frizz while you sleep.
- The Loose Pineapple: Before bed, gather your hair loosely at the very top of your head with a silk scrunchie. This keeps you from sleeping directly on your blowout and flattening the volume.
- Dry Shampoo is Your Bestie: Don’t wait until your hair is greasy to use dry shampoo. Spray a little bit at your roots before bed on day two. It will absorb sweat and oils overnight, keeping your volume intact when you wake up.
Conclusion: Flaunt Your Gorgeous Bounce
Mastering the at-home blowout is like learning to ride a bike: it takes a little patience, a bit of coordination, and a few practice runs. But once you get the hang of the pull-and-roll technique and understand how to lock in your style with a cool blast of air, you will unlock a lifetime of salon-quality hair days right from the comfort of your home. So, grab your round brush, turn up your favorite playlist, and get ready to turn heads with your gorgeous, bouncy crown!
—
Frequently Asked Questions (FAQs)
1. How long does an at-home blowout typically take to complete?
For beginners, it might take 30 to 45 minutes depending on your hair's thickness and length. However, once you master the rough dry and sectioning techniques, you can easily cut that time down to 15 or 20 minutes.
2. Can I achieve a bouncy blowout if I have naturally curly or coily hair?
Absolutely! The key for curly or coily hair is to use a high-tension blowout brush (like a boar bristle brush) and work in smaller, highly controlled sections. Applying a smoothing cream or blowout primer on damp hair will also help stretch and smooth your natural curl pattern safely.
3. Is it safe to blow-dry my hair every single day?
While modern dryers are much safer than older models, daily heat styling can still lead to dryness and damage over time. It is best to limit blowouts to 2 or 3 times a week, always using a premium heat protectant and giving your hair a break with heatless styles in between.
4. Why does my blowout always go flat after just a few hours?
This usually happens for two reasons: either you didn't use a styling product with hold (like mousse or root lifter), or you didn't let the hair cool down completely before letting it drop. Remember to use the cool shot button or Velcro rollers to set the hair in its lifted shape!
5. Which round brush size is best for short hair?
If you have short hair or a bob, opt for a smaller round brush (around 1 to 1.5 inches in diameter). A smaller barrel allows you to get closer to the root for lift and gives you enough grip to roll and style shorter layers effectively.
Post Comment