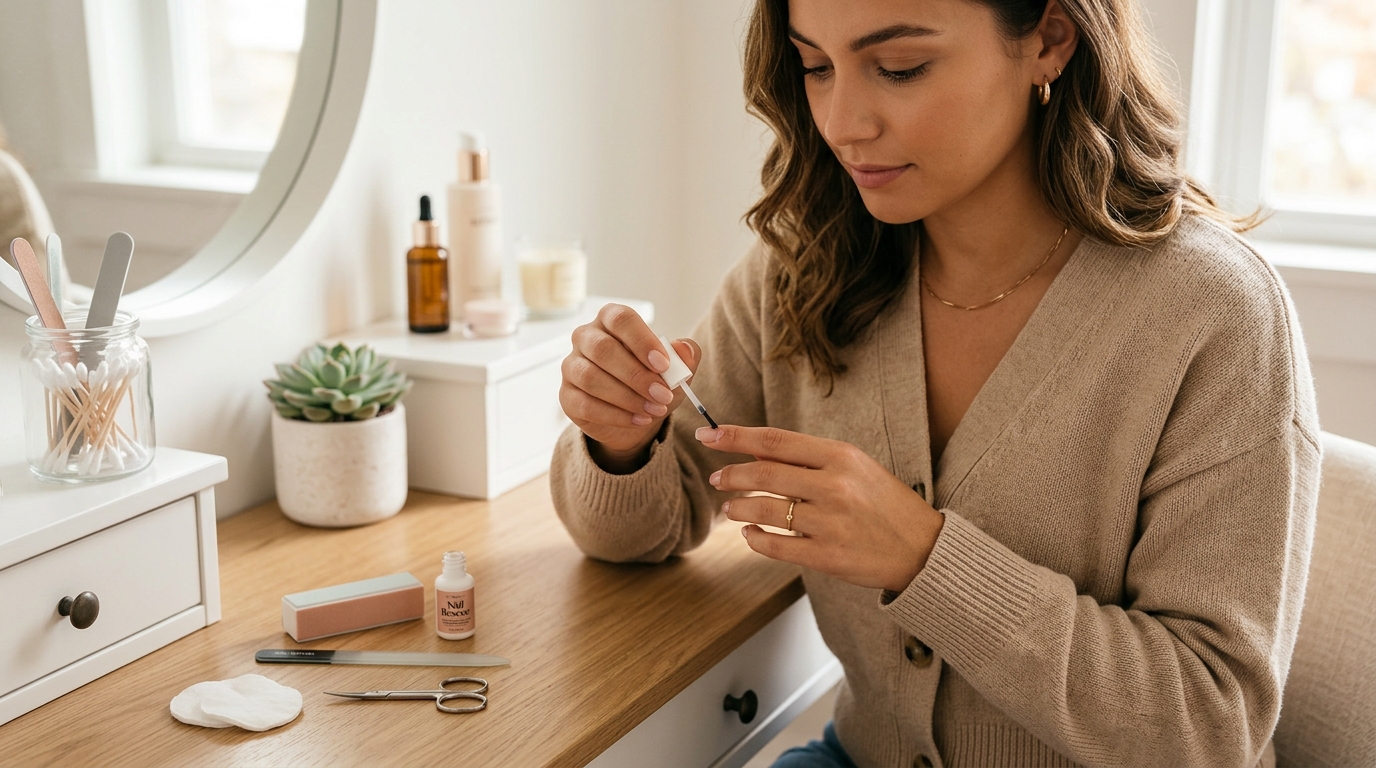
How to Fix a Broken Nail at Home: 5 Quick and Easy Methods
Picture this: you’ve spent the better part of an hour crafting the perfect, glass-like manicure, or maybe you’ve finally grown your natural nails out to that gorgeous, almond-shaped length you’ve been dreaming of for months. Then, it happens. A rogue car door, a stubborn soda can tab, or a sudden clumsy move, and snap. You hear that dreaded sound and feel the immediate, heart-sinking pinch. Before you grab the nail clippers in a fit of dramatic defeat and chop them all down to the quick, take a deep breath. You don't have to start from scratch. In this guide, we are going to walk through five brilliant, tried-and-true methods to rescue your broken nail right from the comfort of your couch.
Why Do Nails Break at the Worst Possible Times?
It feels like a personal attack from the universe, doesn't it? Your nails never seem to break when you're just lounging around doing nothing. They break right before a major job interview, a hot date, or a holiday party. There is actually a bit of science behind why our nails choose these exact moments to betray us.
When we are busy, stressed, or rushing around, we tend to use our hands more forcefully. We tap keyboards faster, rip open packages with abandon, and generally treat our hands like multi-tools rather than delicate canvases. Combine that physical stress with dry air, frequent handwashing, or a lack of moisture, and your nails become brittle little twigs waiting to snap.
The Anatomy of a Nail Break: Assessing the Damage
Before we dive into the surgical table of nail repair, we need to inspect the wound. Not all nail breaks are created equal, and the way you treat a minor snag is vastly different from how you handle a deep, painful tear.
Is It Salvageable or Time to Snip?
First, ask yourself: is the nail actually salvageable? If your nail has split clean off and is hanging by a literal thread of dead keratin, a quick patch will work beautifully. However, if the break has torn deep into your pink nail bed and is bleeding or incredibly painful, stop right there.
Trying to superglue a raw, open wound is a recipe for a nasty infection. In those painful cases, your best bet is to gently sanitize the area, apply a bandage with some antiseptic ointment, and wait for the skin to heal before you try any cosmetic fixes. But if the break is safely above the quick, grab your emergency kit—we are going to save it!
Essential Tools for Your DIY Nail Emergency Kit
You wouldn't perform surgery without the right instruments, and nail repair is no different. To make sure you're prepared for any future nail emergencies, keep these staples tucked away in a dedicated pouch:
- Nail Glue: Look for a high-quality, brush-on cyanoacrylate glue.
- A Fine-Grit Buffer and File: A 180/240 grit buffer is perfect for smoothing things over without thinning your nail plate.
- An Empty Tea Bag or Silk Wrap: The ultimate structural support.
- Baking Soda or Acrylic Powder: For those heavy-duty, concrete-like repairs.
- Clear Base Coat and Top Coat: To seal the deal.
- Rubbing Alcohol or Acetone: To dehydrate the nail plate before you start gluing.
Method 1: The Legendary Tea Bag Trick
If you've spent any time in the beauty community, you’ve probably heard whispers of the legendary tea bag trick. It sounds like a bizarre life hack that shouldn’t work, but it is actually the holy grail of quick nail fixes. It’s cheap, incredibly effective, and practically invisible once you paint over it.
Step-by-Step: Turning Tea Bags into Nail Armor
- Prep the Nail: Start by cleaning your broken nail with a splash of rubbing alcohol or acetone. This removes any natural oils, moisture, or lotion, ensuring the glue sticks like absolute magic.
- Cut the Patch: Take a standard paper tea bag (empty out the tea leaves first, of course!) and cut a tiny, rectangular patch. It should be just large enough to cover the crack and extend slightly beyond it for stability.
- Apply the Glue: Brush a thin, even layer of nail glue over the crack.
- Place the Patch: Using tweezers, gently place the tea bag paper over the wet glue. Press it down flat, ensuring there are no air bubbles or wrinkles.
- Seal It: Apply another thin layer of glue right over the top of the paper. The paper will absorb the glue and turn completely translucent.
- Buff and Smooth: Once the glue is completely dry (give it a solid five minutes), use your fine-grit buffer to gently smooth down the edges of the patch so it blends seamlessly with your natural nail.
Why This Method Works So Well
Think of the tea bag paper as the rebar inside concrete. On its own, nail glue is hard but brittle; it can easily crack under pressure. When you embed the fibrous paper of the tea bag into the glue, you create a reinforced composite material. It flexes slightly with your natural nail instead of snapping, giving you a repair that can easily last two to three weeks.
Method 2: Silk Wraps for a Professional Finish
If you want to step up your nail game and move away from kitchen pantry hacks, professional silk wraps are your best friend. They work on the exact same principle as the tea bag method, but they offer an even thinner, stronger, and more professional finish.
How to Apply Silk Wraps Like a Pro
Silk wraps are self-adhesive, mesh-like strips made of real silk or fiberglass.
First, prep your nail by lightly buffing the surface and wiping it down with alcohol. Cut a piece of the silk wrap to match the shape of your nail or the area of the break. Peel off the backing and stick it directly onto the dry nail. Because it has a light adhesive, you can position it perfectly without rushing against drying glue.
Once it is in place, apply your brush-on nail glue directly over the silk. The glue will saturate the weave of the fabric, making it completely invisible. After it dries, buff the surface until it is smooth to the touch, apply your favorite base coat, and voila! You have a salon-quality repair that is virtually undetectable under polish.
Method 3: The Super Glue and Baking Soda Hack
Have you ever had a break that wasn't just a crack, but a literal chunk missing from the side of your nail? A simple paper patch won't cut it here because there is no nail underneath to support it. You need to rebuild the structure. Enter the super glue and baking soda hack—the DIY equivalent of pouring quick-dry concrete.
The Chemistry of a Quick Fix
This method relies on a fascinating chemical reaction. When cyanoacrylate (nail glue or super glue) comes into contact with sodium bicarbonate (baking soda), it polymerizes almost instantly, turning into a rock-hard plastic.
To pull this off, apply a drop of nail glue to the chipped area, then immediately sprinkle a pinch of baking soda over the wet glue. It will harden in a split second. Brush off the excess powder, apply another layer of glue, and dip it in baking soda again. Repeat this process until you have built up a small mound that fills the gap.
Now, use your nail file to sculpt this hardened mixture back into the shape of your natural nail. It takes some elbow grease and patience, but you can literally recreate a missing corner of your nail using this method.
Method 4: Gel Polish and Builder Gel Reinforcement
If you are a gel polish lover and own a UV or LED lamp, you have access to one of the strongest nail repair methods available. Builder gel (often called "BIAB" or Builder in a Bottle) is a thick, reinforcing gel designed to add strength and structure to natural nails.
Curing Your Way to Stronger Nails
To fix a split nail with builder gel, start by prepping the nail plate and applying a gel primer or dehydrator. Apply a thin layer of gel base coat and cure it under your lamp.
Next, take a small dollop of builder gel on your brush and gently float it over the crack, letting it self-level. If the break is on the free edge, you can use a paper nail form tucked under the nail to hold the gel in place while it cures.
Pop your hand under the lamp for a full 60-second cure. Once cured, wipe away the sticky inhibition layer with rubbing alcohol, and use a file to refine the shape. The beauty of this method is that builder gel is incredibly durable, flexible, and looks exactly like a natural nail.
Method 5: Fake It Till You Make It with a Full-Coverage Tip
Sometimes, despite our best efforts, a nail is simply too far gone. If the crack is jagged, running vertically down the nail bed, or constantly snagging on your hair, trying to patch it might just cause more frustration. In these moments, it’s time to fake it.
How to Blend a Fake Tip Seamlessly
Gently file the broken nail down so there are no sharp, snagging edges. Find a full-coverage soft gel or plastic nail tip that perfectly matches the width of your nail bed.
Apply a small drop of nail glue to the inside of the fake tip, press it onto your natural nail at a 45-degree angle to avoid air bubbles, and hold it firmly for 30 seconds.
Once secure, cut the fake nail down to match the length of your other nails. Use a buffer to gently file down the step where the fake nail meets your cuticle so it transitions smoothly. Paint over all your nails with the same polish, and no one will ever know that one of your gorgeous nails is an impostor!
Post-Fix Care: How to Keep Your Repaired Nail Intact
Congratulations, you’ve saved the day! But don't get too comfortable just yet. A repaired nail is like a patched tire—it will get you where you need to go, but you shouldn't go drag racing on it.
- Avoid Hot Water: For the first 24 hours after using nail glue, try to avoid soaking your hands in hot water. Long baths, doing the dishes without gloves, or sitting in a hot tub can soften the glue and ruin your hard work.
- Wear Gloves: If you are cleaning, gardening, or doing heavy chores, protect your hands with rubber gloves.
- Don't Use Your Nails as Tools: This is golden rule number one of nail care. Stop using your nails to scrape off stickers, open soda cans, or pry things open. Use a coin, a butter knife, or your fingertips instead.
How to Prevent Future Breaks (Because Prevention is Key!)
While knowing how to fix a broken nail is an incredibly useful superpower, wouldn't it be better if your nails just didn't break in the first place? Transitioning your focus from damage control to daily maintenance can work wonders for your hands.
Nail Habits to Break Today
First, step away from the metal nail files. Metal files are incredibly harsh and create microscopic tears in the edge of your nail that eventually turn into full-blown splits. Instead, invest in a high-quality glass or crystal nail file. Glass files seal the keratin layers of your nail as you file, leaving a perfectly smooth edge.
Second, stop peeling off your gel polish or acrylics. When you peel off product, you are ripping away the top layers of your natural nail plate, leaving them paper-thin and incredibly prone to breaking.
The Role of Diet and Hydration in Nail Strength
Your nails are a reflection of what is going on inside your body. If you aren't drinking enough water, your nails will become dry and brittle. Make cuticle oil your best friend—keep a bottle at your desk, on your nightstand, and in your purse. Massaging oil into your cuticles multiple times a day keeps the nail plate flexible so it bends instead of breaking when it hits something hard.
Additionally, ensure your diet includes plenty of biotin, healthy fats, and proteins. Foods like eggs, avocados, nuts, and leafy greens provide the essential building blocks your body needs to grow strong, resilient nails from the inside out.
Conclusion
A broken nail doesn't have to be a beauty tragedy that ruins your week. Whether you opt for the quick and easy tea bag trick, the rock-hard baking soda method, or the professional look of builder gel, you have all the tools and knowledge you need to handle any nail emergency that comes your way. Remember to treat your hands with kindness, keep them hydrated, and wear those rubber gloves like a badge of honor. Your nails will thank you for it!
Frequently Asked Questions
How long does a tea bag nail repair last?
A well-done tea bag repair can easily last anywhere from one to three weeks. It will typically stay put until your natural nail grows out long enough for you to safely trim the broken section away.
Can I use regular super glue instead of nail glue?
Technically, yes. Both super glue and nail glue are made of cyanoacrylate. However, cosmetic nail glue is formulated specifically for use on human nails and often contains nourishing ingredients, whereas household super glue can be harsher on the nail plate and harder to remove.
Will fixing a broken nail with glue damage my natural nail?
If done correctly, no. The glue itself won't damage your nail, but the way you remove it can. Never rip or peel a glued patch off. Instead, soak it gently in acetone until the glue dissolves completely.
How do I paint over a repaired nail without it looking bumpy?
The key to a seamless look is thorough buffing. Once your glue patch is dry, buff the edges of the patch until they are completely flush with your natural nail. Applying a ridge-filling base coat before your color polish also helps smooth out any remaining texture.
Is it safe to fix a nail that is split into the quick?
If the split is bleeding, raw, or painful, do not apply glue or patches to it. Applying chemicals to open skin can cause severe irritation or infection. Keep the area clean, apply a bandage, and wait for the skin to heal before attempting to patch the nail.
Post Comment