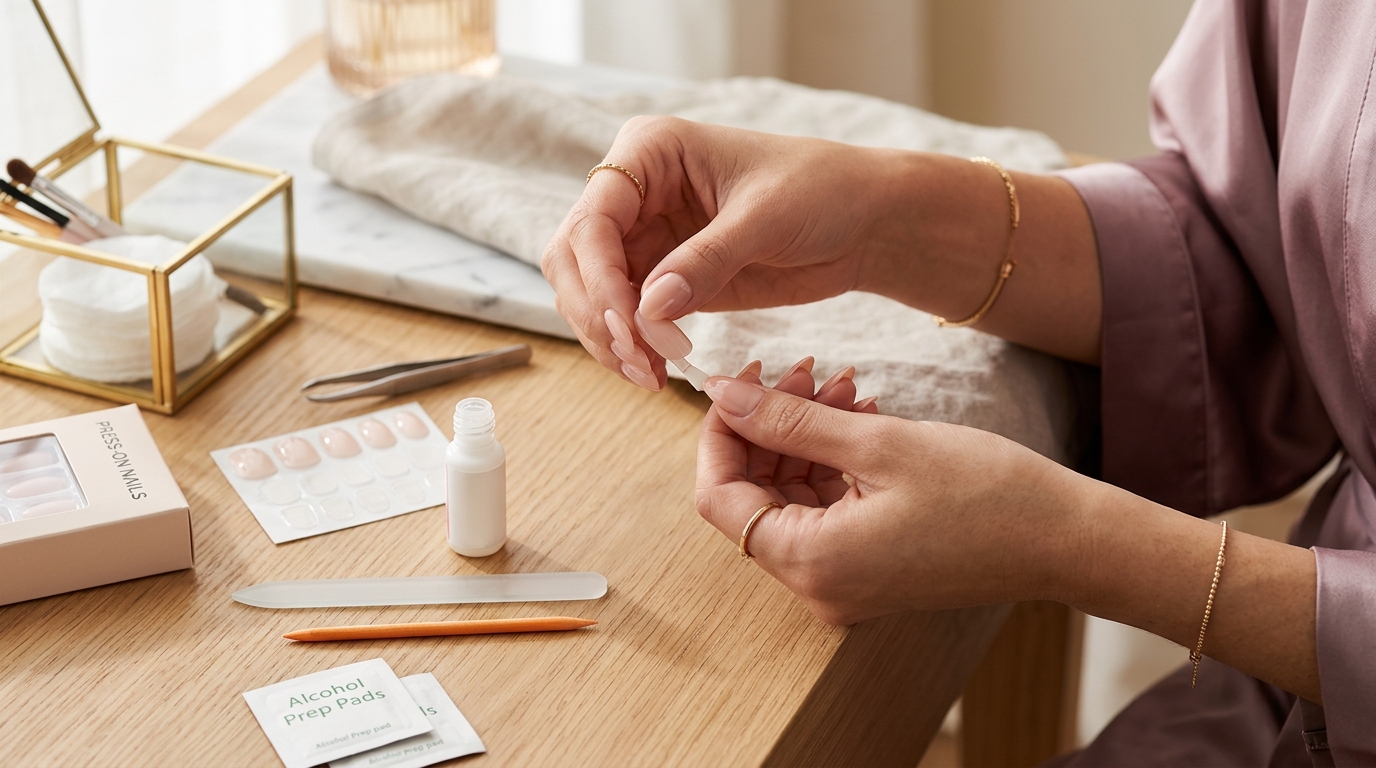
How to Apply Press-On Nails Like a Pro: A Step-by-Step Guide for a Salon-Quality Finish
Imagine having a fresh, chip-free manicure that looks like it cost a cool hundred bucks, but only took you fifteen minutes in your pajamas. Sounds like a dream, right? Welcome to the era of the ultimate DIY glow-up. Press-on nails have officially graduated from the cheap, plastic claws of the early 2000s to the high-tech, salon-grade essentials of 2026. Whether you are running late for a last-minute brunch, trying to save some cash, or just love switching up your aesthetic weekly, press-ons are your new best friend. But if you have ever had a nail pop off into your salad or look obviously fake, you know that application is everything. Don't worry, we've got you covered. Here is your ultimate, foolproof guide to applying press-on nails like an absolute pro.
Why Press-On Nails Are the Ultimate Beauty Hack
Let’s be real for a second: spending two hours sitting in a salon chair while inhaling acrylic fumes isn't everyone's idea of a good time. Not to mention the toll it takes on your wallet and your natural nail health. Modern press-ons are a total game-changer. They offer the perfect blend of convenience, affordability, and versatility.
With advanced materials like ultra-flex gel and bio-sourced resins, today’s press-ons mimic the natural curve of your nail bed flawlessly. They are lightweight, durable, and come in every shape, color, and design imaginable—from minimalist milky whites to intricate 3D chrome art. If you love having gorgeous hands but hate the commitment of salon gel or acrylics, press-ons are the ultimate beauty hack you need in your routine.
Choosing Your Perfect Match: Shapes, Sizes, and Styles
Before you even touch a bottle of glue, you need to find the right set. Walking into the beauty aisle or browsing online can feel a bit overwhelming with the sheer volume of choices. Do you go for a classic almond, a trendy coffin, or a practical short square?
The key is matching the nail shape and length to your daily lifestyle. If you spend your days typing away at a keyboard, ultra-long stiletto nails might make you want to throw your computer out the window. Opt for short-to-medium lengths for daily wear, and save the dramatic lengths for special weekend events.
Finding the Right Fit for Your Nail Beds
Here is a golden rule: never guess your size. Most press-on kits come with 24 to 30 nails in various sizes to fit different hands. Take the time to sit down and map out which number fits each of your fingers.
When sizing, look for a nail that covers your entire nail bed from side wall to side wall without overlapping onto your skin or cuticles. If a nail is slightly too wide, don’t force it! You can easily file the sides down for a custom, bespoke fit. If it's too small, your natural nail will peek through the sides, giving away the DIY secret.
Glue-On vs. Adhesive Tabs: Which is Better?
This is the age-old debate of the press-on world. The truth is, both have their time and place, depending on how long you want your manicure to last.
- Adhesive Tabs: These are double-sided, gummy stickers. They are absolutely perfect for temporary wear—like a weekend getaway, a photoshoot, or a special night out. They cause zero damage and allow you to pop the nails off easily. Expect them to last 1 to 3 days.
- Nail Glue: If you want your nails to stay put through showers, workouts, and dishwashing, glue is your champion. Formulated with cyanoacrylate, high-quality nail glue can keep your press-ons locked in place for up to two weeks.
The Golden Rule: It's All in the Prep Work
If you skip the prep, your nails will pop off faster than you can say "manicure." Think of your natural nail as a canvas. If the canvas is oily, dusty, or uneven, nothing is going to stick to it. Proper prep is 90% of the battle when it comes to longevity. Grab your prep kit, and let's get down to business.
Step 1: Clean and Sanitize
First things first, wash your hands thoroughly with antibacterial soap. You want to remove any dirt, lotion, or residual oils from your skin. Dry your hands completely. Water is the ultimate enemy of nail adhesive, so make sure your fingers are bone-dry before moving on to the next step.
Step 2: Push Back Those Cuticles
Take a wooden orange stick or a silicone cuticle pusher and gently push your cuticles back. Why? If you glue a press-on nail directly onto your cuticle skin, it will lift up within a day or two as your nail grows. Pushing the cuticles back creates a clean, flat surface and allows you to place the press-on slightly under the cuticle line for that seamless, grown-from-the-root look.
Step 3: Buff Away the Shine
Using a gentle nail buffer (not a harsh metal file), lightly buff the surface of your natural nails. You are not trying to thin out your nails here; you just want to remove the natural shine. Buffing creates a micro-rough texture that gives the glue something to grip onto. Think of it like sanding a piece of wood before painting it.
Step 4: Dehydrate with Alcohol
This is the secret weapon step that separates the amateurs from the pros. Wipe down each nail with an isopropyl alcohol prep pad or a lint-free wipe soaked in acetone. This removes any leftover dust from buffing and completely strips away any remaining natural oils. Once you do this, avoid touching your face or hair, as you will transfer oils right back onto your clean nails!
The Main Event: How to Apply Press-Ons Like a Boss
Now that your nails are perfectly prepped, it is time for the main event. Grab your sized-out press-ons and your glue. Let’s make magic happen.
Sizing Your Nails in Advance (The Pro Tip)
Lay out your ten selected press-on nails in order on a clean surface. It helps to arrange them from pinky to thumb. Always apply your thumbs last! Your thumbs are your primary tools for holding, pressing, and adjusting the other nails. If you apply them first, you will struggle to handle the rest of the application process.
Mastering the 45-Degree Angle Technique
When it’s time to apply, do not just press the nail straight down from above. This traps air bubbles underneath, which creates pockets where water can collect (leading to bacterial growth and early lifting).
Instead, hold the press-on at a 45-degree angle right at your cuticle line. Slowly slide it down until it meets the cuticle, and then press it flat onto your nail bed. This action pushes the glue forward and squeezes out any air bubbles, ensuring a solid, airtight bond. It is exactly like applying a tempered glass screen protector to your smartphone.
Applying the Perfect Amount of Glue
How much glue is enough? It’s a delicate balance. Too little, and they will pop off; too much, and it will spill out onto your skin and stick to your fingers.
For maximum longevity (up to two weeks), apply a small drop of glue to your natural nail and a tiny dot to the back of the press-on nail. Spread it evenly using the nozzle of the glue bottle. If you only want them to last a few days, just apply a small dot to the center of your natural nail.
The 30-Second Hold Down
Once the nail is in place, apply firm, even pressure over the entire nail surface. Don't just press the center; make sure you press down on the sides and the cuticle area too. Hold this pressure for a full 30 seconds per nail. This gives the glue enough time to bond securely. If any excess glue squeezes out around the edges, quickly wipe it away with a wooden cuticle stick before it dries.
Post-Application Care: Keeping Them Fresh
Congratulations, you have a gorgeous new set of nails! But the work doesn't stop once the glue dries. To make sure your press-ons stay looking flawless and last as long as possible, you need to practice some basic post-application care.
Filing and Shaping to Perfection
Even though press-ons come pre-shaped, they might have tiny plastic tabs at the tips from the manufacturing process. Use a fine-grit nail file to gently smooth out the tips. If you want to customize the shape—like turning a square into a squoval—now is the time to do it. Just file in one direction to avoid splitting the plastic material.
Avoiding Water for the First Few Hours
This is crucial: do not get your hands wet for at least two to three hours after application. While the glue drys quickly, it takes a few hours to completely cure and lock in. Avoid washing dishes, taking hot showers, or applying cuticle oil immediately after putting them on. Give the adhesive time to do its job, and your patience will be rewarded with a manicure that lasts.
How to Safely Remove Press-Ons Without Damage
When it is time to say goodbye to your set, please resist the urge to rip them off! Peeling off press-ons forcefully will tear away the top layers of your natural nail, leaving them weak, thin, and damaged. Removal should be a gentle, relaxing process.
The Warm Soapy Water and Oil Soak
To remove your nails safely, fill a bowl with warm water, a few drops of dish soap, and a generous tablespoon of olive oil, coconut oil, or baby oil. Soak your hands in this mixture for 15 to 20 minutes. The warm water relaxes the plastic, while the soap and oil work their way under the edges to break down the adhesive.
After soaking, gently nudge the edges of the press-ons with your wooden cuticle stick. If they don't budge, do not force them—just soak for another 5 to 10 minutes. They should eventually slide off effortlessly.
What NOT to Do (No Ripping!)
We cannot stress this enough: never use pure acetone to soak off reusable press-on nails unless you plan on throwing them away. Acetone melts plastic, which will ruin the press-ons. If you want to save and reuse your beautiful sets, stick to the warm soapy water and oil method. It keeps both your natural nails and your press-on set in pristine condition.
Conclusion: Salon Vibes on a DIY Budget
Getting a gorgeous, salon-quality manicure doesn't require spending a fortune or wasting hours of your precious time. By mastering the art of proper nail preparation, using the 45-degree application technique, and caring for your hands post-application, you can enjoy a flawless, long-lasting manicure right from the comfort of your couch. Press-on nails are cheap, fun, and incredibly versatile. So go ahead, experiment with different shapes, play with bold colors, and show off your beautiful, DIY-styled hands to the world!
Frequently Asked Questions
Can I reuse my press-on nails?
Yes, absolutely! If you remove them gently using the warm soapy water and oil method, you can reuse them multiple times. Just gently scrape away any dried glue residue from the back of the fake nail before your next application.
Will press-on nails damage my natural nails?
Not if you apply and remove them correctly. The damage usually happens when people rip the nails off forcefully or use low-quality glues. Following proper removal steps ensures your natural nails stay healthy and strong.
Can I shower and swim with press-on nails?
Yes, you can! Once the glue has fully cured (usually about 2 to 3 hours after application), high-quality press-ons are completely waterproof. However, try to avoid prolonged exposure to very hot water, as heat can soften the adhesive over time.
How do I choose between nail glue and adhesive tabs?
Choose adhesive tabs if you want a temporary look for 1 to 3 days (great for weekend events or matching specific outfits). Choose nail glue if you want a durable, long-term manicure that lasts up to two weeks.
What should I do if a press-on nail falls off early?
Don't panic! It happens to the best of us. Simply gently buff your natural nail to remove any old glue, clean it with an alcohol pad to dehydrate it, apply a fresh dot of glue, and press the nail back on for 30 seconds. Keep a small tube of nail glue in your purse for quick on-the-go fixes!
Post Comment