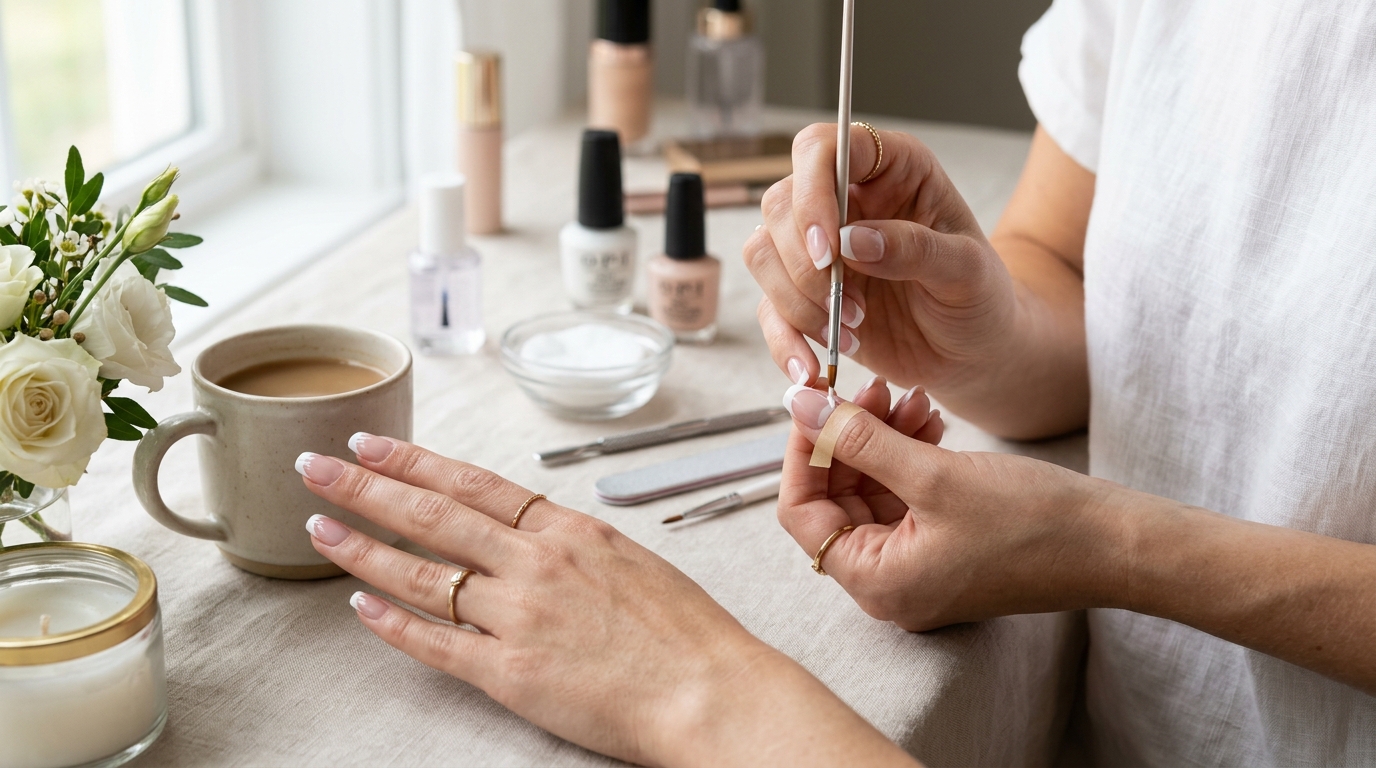
How to Master the DIY French Manicure: 5 Easy Techniques for Perfect Lines
There is something undeniably timeless about a crisp, immaculate French manicure. It is the ultimate "clean girl" aesthetic—chic, effortless, and effortlessly versatile whether you are heading into a board meeting or walking down the aisle. But let’s be honest for a second: trying to paint those tiny, curved white lines on your non-dominant hand at home can feel like attempting fine-art painting during an earthquake. One slight wiggle, and suddenly your sleek tip looks like a jagged wave.
The good news? You don't need a steady hand of a surgeon or a weekly $70 salon appointment to get those salon-fresh results. With a few genius hacks and the right approach, mastering the DIY French manicure is totally doable right at your kitchen table. Let’s dive into five dead-simple techniques that guarantee picture-perfect lines every single time.
—
Why the Classic French Manicure is Having a Major Revival
The French manicure has been a staple in beauty culture for decades, but recent fashion cycles have given it a modern makeover. We are no longer stuck with the thick, stark-white acrylic bands of the early 2000s. Today’s trend revolves around soft, natural proportions, micro-tips, and customizable shade combinations.
Why do we keep coming back to it? Because it elongates the fingers and gives off an air of polished elegance without clashing with a single outfit in your wardrobe. Plus, learning to do it yourself saves both time and a small fortune over the course of a year.
—
Essential Supplies: What You Need in Your Nail Kit
Before we dive into the techniques, you need to gather your tools. Trying to pull off nail art with thick, five-year-old polish is a recipe for heartbreak.
Choosing the Perfect Nude or Pink Base Coat
The base color sets the tone for your entire manicure. Look for a sheer, buildable formula. A soft milky pink flatters cooler skin tones, while a sheer peach or nude tint works wonders for warmer undertones. The goal is to enhance your natural nail bed, not mask it completely under opaque paint.
Finding the Right Crisp White Polish
For your tips, high pigmentation is key. You want a white polish that delivers full coverage in just one thin coat. If the formula is too sheer or runny, you'll have to layer it, which creates an awkward bump where the white line meets the base coat.
Top Coats and Prep Tools You Shouldn't Skip
To seal your work, grab a high-shine, quick-dry top coat. You will also need a fine nail file, a buffer block, rubbing alcohol or nail dehydrator, and a small, flat angled makeup or nail clean-up brush.
—
Prepping Your Nails Like a Pro Beauty Tech
You wouldn't apply foundation to an unwashed face, and you shouldn't apply polish to unprepared nails. Your prep work dictates whether your manicure lasts three days or two weeks.
Nail Shaping: Oval, Almond, or Square?
The shape of your tips should complement your natural nail bed. Almond and oval shapes tend to look stunning with curved, soft French lines, while squoval (square with rounded edges) works beautifully with classic straight-across tips. File gently in one direction to prevent splitting.
Cuticle Care for a Flawless Canvas
Gently push back your cuticles using a wooden orange stick after a warm shower or applying a bit of cuticle remover. Avoid aggressively cutting your live cuticles—stick to trimming only dead hangnails. Wipe the nail plate clean with a lint-free wipe soaked in rubbing alcohol to strip away natural oils.
—
Technique 1: The Silicone Nail Stamper Hack
If you have zero hand stability, this viral technique is going to change your life forever. A silicone nail stamper acts like a pillow that molds perfectly around your tip.
How to Press for Precision
- Apply your sheer base coat and let it dry completely.
- Paint a generous layer of white polish directly onto the top surface of the silicone stamper.
- Hold your finger at a 45-degree angle and slowly press the tip of your nail into the squishy stamper.
- As you push gently into the cushion, the white polish will roll up around the edge of your nail, creating a smooth, natural curve.
- Lift your finger straight up, let the line dry, and seal it with a top coat.
Pro-tip: Don't push too deep, or the line will end up covering half your nail bed. A gentle, controlled dip is all it takes!
—
Technique 2: The Striping Tape or Stencil Method
If you love geometric perfection and clean boundaries, physical barriers are your best friend.
Tips for Peeling Without Smudging
- Ensure your base coat is 100% bone-dry before sticking anything onto your nail. (Seriously, wait at least 10–15 minutes, or use a quick-dry top coat first).
- Place curved French manicure guides or striping tape across your nail, leaving just the tip exposed. Press down firmly, especially near the side walls, so polish doesn't bleed underneath.
- Paint the tip with your white polish using light strokes.
- The Golden Rule: Peel the tape off immediately while the white polish is still wet. If you wait until it dries, the tape will pull off chunks of the polish with it.
—
Technique 3: The Freehand Fine Liner Brush Technique
For those who want total creative freedom over how deep or dramatic their "smile line" is, a long detail brush offers ultimate control.
Finding Your Anchor Point for Steady Hands
- Instead of using the wide brush that comes in the polish bottle, dip a thin 7mm or 9mm nail art liner brush into your white polish.
- Anchor your hands! Rest both wrists firmly on your desk so you aren't hovering in mid-air.
- Mark three tiny dots: one on the left sidewall, one on the right, and one in the center tip.
- Connect the dots in one fluid motion, curving gently along the free edge.
- Fill in the tip below your curved line.
—
Technique 4: The Guide Sticker / Paper Reinforcement Hack
Don't have fancy nail stencils at home? Take a quick trip to your office supply drawer! Those circular paper hole reinforcements used for binder paper make incredible DIY French stencils.
Because they already have a natural arch, you can stick one across your nail bed, expose the tip, and fill it in with white polish. Just like with standard stencils, peel the paper sticker off while the polish is fresh and wet. It costs pennies and works surprisingly well for beginners.
—
Technique 5: The Cleanup Brush Magic Trick
What if the secret to a sharp line isn't painting it right the first time, but erasing your mistakes afterward? This is the method preferred by many professional nail technicians.
Choosing the Right Clean-Up Acetone and Angle
- Paint a rough white line across the tip of your nail. Don't worry if it's messy, too thick, or uneven.
- Dip a stiff, flat, angled eyeliner or nail cleanup brush into pure acetone. Dab off excess liquid on a paper towel.
- Hold the brush like an eraser and sweep it along the lower edge of the white polish to carve out a smooth, crisp arc.
- Wipe your brush on a paper towel between strokes so you don't smudge white paint back onto your base color.
—
Pro Tips for Longevity and Shine
Once you have crafted those dreamy tips, you want them to stay intact for as long as possible.
- Cap the Free Edge: When applying both your white polish and your final top coat, run the brush along the very front edge of your nail. This seals the edge and prevents early chipping.
- Reapply Top Coat Every 3 Days: A quick fresh layer of top coat mid-week restores brilliant glass-like shine and adds an extra layer of armor against daily wear and tear.
- Oil Up: Apply cuticle oil twice a day. Hydrated nails flex under impact, whereas dry nails snap and peel.
—
Common French Manicure Mistakes to Avoid
- Making the White Tip Too Wide: Unless you have super long nails, a thick white band can make your nails look short and stubby. Aim for a delicate, thin band (micro French) for a flattering, modern look.
- Skipping the Base Coat: Applying white polish directly to bare nails can cause yellow staining and uneven texture.
- Applying Polish Too Thickly: Thick layers lead to bubbling, long drying times, and easy smudging. Thin, precise coats win every time.
—
Conclusion: Wear Your Salon-Quality Tips With Pride
Mastering the DIY French manicure doesn't require innate artistic talent—it just requires the right technique for your skill level. Whether you opt for the squishy convenience of a silicone stamper, the precision of a cleanup brush, or the old-school reliability of stencils, achieving crisp, gorgeous lines at home is officially within your reach. Grab your supplies, pick a method that feels comfortable, and enjoy the satisfaction of admiring a flawless manicure you created all by yourself!
—
Frequently Asked Questions (FAQs)
1. Why does my white polish bleed under my stencils?
Bleeding usually happens for two reasons: either your base coat wasn't completely dry before applying the stencil, or you didn't press the edges of the sticker down tightly enough. Make sure to press firmly along the sides of your nail bed before painting.
2. What is the difference between a classic French and a Micro French manicure?
A classic French manicure features a wider white band covering the entire free edge of the nail. A micro French uses an ultra-thin line right along the very top rim, creating a subtle, delicate look that looks gorgeous on shorter nails.
3. Can I do a French manicure on short or natural nails?
A French manicure looks stunning on short nails! The trick is keeping the white line proportioned to your nail size—opt for a thin micro-tip line so you don't crowd the natural nail bed.
4. Why is my top coat dragging the white polish and smudging my line?
If your top coat smudges your art, your white polish hasn't set enough, or you are applying too much pressure with your brush. Floating a generous bead of top coat over the nail without letting the brush bristles aggressively rub the design will prevent smudging.
5. How do I choose between a pink or nude base?
Look at your undertones! If your skin has cool or pink tones, a sheer soft pink looks bright and healthy. If you have warm, golden, or olive tones, a soft beige, cream, or peach-toned nude base will be much more flattering.
Post Comment