How to Make Your Manicure Last Longer: 8 Pro Tips for Chip-Free Nails
We’ve all been there. You spend an hour meticulously painting your nails, waiting for each layer to dry, only to have your masterpiece chip the second you reach into your bag for your keys. It’s incredibly frustrating! You start questioning why you even bother with DIY manicures in the first place. But what if we told you that you don't need a weekly salon appointment or a heavy-duty UV gel setup to enjoy flawless, chip-free nails?
By making a few simple, strategic tweaks to your nail care routine, you can easily stretch your standard nail polish manicure to last a week, or even two. In this ultimate guide, we’re sharing 8 professional secrets that will transform your nail game. Grab your favorite polish, and let’s dive into how you can get that long-lasting, salon-quality finish right at home.
—
Why Do Our Manicures Fail Us So Quickly?
Before we can fix the problem, we need to understand why regular nail polish seems to give up on us so fast. The short answer? Nature is working against us. Our nails naturally produce protective oils, shed moisture, and expand or contract depending on the temperature and humidity.
Think of your nail polish like tape. If you try to stick a piece of tape onto a dusty, wet, or oily window, it’s going to peel off almost immediately. Your nail plate is no different. If you apply polish over natural oils, leftover hand cream, or water residue, the polish simply cannot bond to the nail. Add in daily wear and tear—like typing, washing dishes, and opening packages—and you have a recipe for instant chipping. Luckily, we can combat all of these factors with the right techniques.
—
Tip 1: Prep Like a Pro (The Foundation)
If you ask any professional nail technician what the most important step of a manicure is, they won’t say the color application. They will tell you it’s the prep work. A gorgeous manicure is only as good as the surface beneath it. If you rush through your prep, you’re basically building a house on quicksand.
Cleanse with Dehydrator or Acetone
Your nails might look clean, but they are coated in invisible natural oils that act as a barrier to nail polish. To get rid of these oils, you need to dehydrate the nail plate right before you apply your base coat.
Skip the standard rubbing alcohol if you can, and reach for 100% pure acetone or a dedicated nail dehydrator. Soak a lint-free wipe (avoid cotton balls, as they leave tiny fuzzies behind) and scrub each nail thoroughly. This temporary dehydration gives your base coat the perfect, squeaky-clean surface to cling to.
Push, Don't Cut, Those Cuticles
We need to talk about cuticles. Polish will not adhere to skin, period. If you paint over your cuticles, even just a tiny bit, the polish will lift as your nail grows, leading to peeling.
Instead of taking cuticle nippers and aggressively cutting away your skin—which can lead to nasty infections—use a gentle cuticle remover liquid and a wooden orange stick or a silicone pusher to gently push them back. This clears off the "true cuticle" (the dead skin cells stuck to the nail plate) and creates a clean, clear canvas for your polish.
—
Tip 2: Say No to Water Soaks Before Polish
We’ve all seen it in the movies: you sit down at a salon, and the first thing they do is dunk your hands into a warm bowl of soapy water. While this feels incredibly relaxing, it’s actually the worst thing you can do right before getting your nails painted.
The Science of Nail Expansion
Our nails are highly porous, almost like hard sponges. When you soak them in water, they absorb that moisture and expand. If you apply base coat and polish while your nails are in this swollen state, they will look great initially. However, as the hours pass, the water evaporates, and your natural nails shrink back to their normal size.
The dry nail polish on top cannot shrink with them. The result? The bond breaks, and your polish starts cracking and peeling before the day is even over. Keep your manicure dry from start to finish, and save the hand soaking for your post-polish hand massages.
—
Tip 3: Buffing is Your Secret Weapon
You might think buffing is just for making your nails look shiny and smooth, but when done correctly, it’s actually the ultimate secret weapon for polish longevity.
Choosing the Right Grit
We aren't talking about using a rough file that thins out your nails. Instead, you want to use a high-grit, gentle buffer (around 240 grit or higher). Gently swipe the buffer across the nail plate in one direction to remove the natural shine.
This micro-abrasion creates tiny, microscopic ridges on the nail surface. Think of it as giving your base coat something to grab onto. It’s the difference between trying to climb a smooth glass wall versus a textured rock-climbing wall.
—
Tip 4: Always Apply a High-Quality Base Coat
If you’ve ever skipped base coat because you were in a rush, you’re not alone—but you are doing your nails a major disservice. A base coat isn't just a marketing gimmick; it is the essential bridge between your nail and your color.
Sticky Base Coats vs. Ridge Fillers
Not all base coats are created equal. If your primary goal is to prevent chipping, look for a "sticky" or "rubberized" base coat. These formulas are specifically engineered to remain slightly tacky even when dry, acting like double-sided tape for your nail polish.
On the other hand, if you have deep ridges in your nails, a ridge-filling base coat will smooth out the surface so your color applies evenly without pooling in the dips. Whichever you choose, never skip this step. It also protects your natural nails from getting stained by highly pigmented dark polishes!
—
Tip 5: Cap the Free Edge (The Ultimate Chip-Shield)
If there is only one tip you take away from this article, let it be this one: cap your free edges. When we paint our nails, we tend to stop right at the very tip of the nail. But the tip is exactly where your nail takes the most daily beating—from typing on keyboards, texting, and opening soda cans.
To cap the free edge, take your polish brush and run it horizontally along the very outer edge and slightly underneath the tip of your nail. Do this with your base coat, your color coats, and your top coat. This wraps the polish around the tip, sealing the edge and creating a protective barrier that prevents water and friction from getting underneath the polish and lifting it.
—
Tip 6: Thin Coats Win the Race
When you're painting your nails, it’s incredibly tempting to load up the brush with a thick blob of polish so you can get full coverage in just one coat. Resist the urge! Thick coats are the ultimate enemy of a long-lasting manicure.
Why Thick Layers Lead to Bubbling and Peeling
Nail polish dries through the evaporation of solvents. When you apply a thick layer, the top surface dries and seals quickly, trapping the wet solvents underneath. This trapped moisture has nowhere to go, which leads to those annoying little air bubbles you sometimes see in your polish.
Even worse, because the bottom layer never fully cures, the entire sheet of polish remains soft and easily slides off or peels away. Two or three paper-thin coats will always dry faster, harder, and last infinitely longer than one thick one.
—
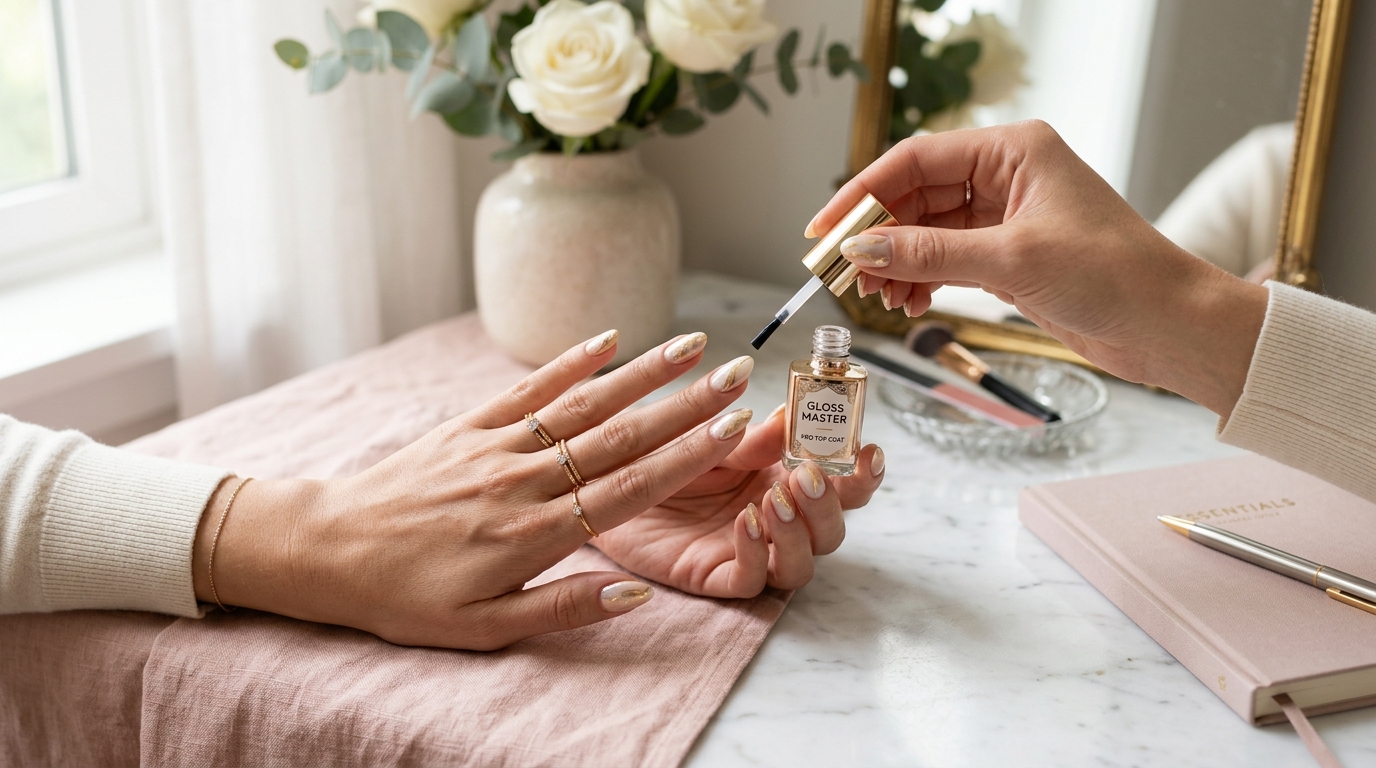
Tip 7: Lock It In with the Perfect Top Coat
Your top coat is the unsung hero of your manicure. It’s the armor that protects your beautiful nail art or color from the harsh realities of the world. But you shouldn't just apply it once and forget about it.
Gel-Like Top Coats (Without the UV Light)
In 2026, the nail industry has perfected hybrid "gel-like" top coats that dry quickly in natural light but offer the incredible plumpness, shine, and durability of a salon gel manicure. Look for formulas that promise "plumping" or "long-wear" benefits. These top coats dry to a hard, glass-like finish that absorbs the impact of daily bumps and scrapes.
Reapplying Every Two Days
Here is a pro-tip that many people overlook: top coat wears down over time. To keep your manicure looking fresh and to seal up any micro-fissures before they turn into full-blown chips, apply a fresh, thin layer of top coat every two to three days. It takes less than two minutes, dries incredibly fast, and can easily add an extra four to five days of life to your manicure.
—
Tip 8: Post-Manicure Maintenance: Protect Your Investment
Once your nails are dry, the work isn't quite finished. How you treat your hands in the days following your manicure plays a massive role in how long that polish stays pristine.
Wear Gloves for Household Chores
Water is the ultimate nemesis of nail polish. When you wash dishes, clean the bathroom, or do wet yard work, your nails are exposed to hot water and harsh detergents that break down the chemical bonds of your polish.
Invest in a cute pair of rubber cleaning gloves. Not only will this keep your manicure chip-free, but it will also keep the skin on your hands looking youthful, soft, and hydrated.
Hydrate Daily with Cuticle Oil
Dry nails are brittle nails, and brittle nails chip and break easily. When your nail bends under pressure, a flexible, hydrated nail will simply flex and bounce back. A dry, dehydrated nail will snap, taking your gorgeous polish with it.
Keep a bottle of cuticle oil on your nightstand, at your desk, or in your purse, and apply it at least once a day. Jojoba oil is particularly fantastic because its molecular structure is small enough to actually penetrate the nail plate and keep it deeply hydrated and flexible.
—
Troubleshooting Common Manicure Mishaps
Even with the best preparation, accidents happen. If you spot a tiny chip at the edge of your nail, don't panic and pull out the nail polish remover just yet. You can easily patch it up!
First, take a tiny drop of nail polish remover on your finger and gently smooth down the rough edges around the chip so it’s flush with the rest of your nail. Next, dab a tiny bit of your color polish directly into the chipped area to fill the gap. Let it dry for a minute, and then seal the entire nail with a fresh layer of top coat. No one will ever know the difference!
—
Conclusion: Enjoy Your Long-Lasting Salon-Quality Nails
Getting a beautiful, long-lasting manicure at home doesn't require magic—it just requires a little bit of patience and the right techniques. By shifting away from water soaks, prepping your nail plates with pure acetone, capping your edges, and keeping your hands protected and hydrated, you’ll be amazed at how durable your DIY manicures can be. Now go ahead, show off those gorgeous, chip-free nails with pride!
—
Frequently Asked Questions (FAQs)
1. Why does my nail polish always bubble?
Bubbles usually happen when you apply your polish coats too thickly, or if you shake the polish bottle right before using it. Shaking traps air inside the bottle, which transfers to your nails. Instead of shaking, roll the bottle back and forth between your palms to mix the pigments.
2. How long should I wait between applying coats of polish?
Ideally, you should wait about two to three minutes between each coat. Since thin coats dry quickly, by the time you finish painting the tenth finger, your first finger should be ready for the next layer.
3. Can I use hairspray to make my nail polish dry faster?
While hairspray can dry the very top layer of your polish quickly, it won't dry the layers underneath. In fact, the aerosol can sometimes ruin the glossy finish or trap solvents. It's much better to use dedicated quick-dry drops or a high-quality quick-dry top coat.
4. Is cuticle oil really necessary if I use hand cream?
Yes! Hand creams are designed to hydrate the skin, but their molecules are often too large to deeply penetrate the dense layers of the nail plate. Cuticle oils (especially those with a jojoba oil base) are specifically formulated to sink deep into the nail and cuticle area for maximum hydration.
5. How do I prevent my nails from staining when using dark colors?
Always apply a high-quality base coat before using highly pigmented shades like dark blue, red, or black. If your nails are already stained, you can gently buff the surface or use a paste made of baking soda and lemon juice to brighten them up.
Post Comment